
Imagine settling down for an evening of entertainment, ready to enjoy your favourite shows. You grab the remote, but the picture is pixelated and the sound is choppy.
Frustration builds when your device fails to deliver the quality you expect. This common problem often comes down to choosing the right encoder for IPTV.
Choosing the best encoder can greatly improve your viewing experience. An encoder changes video signals into formats for smart TVs, set-top boxes, and streaming applications.
Choices include dedicated hardware, such as the Magewell Ultra Encode HDMI, and software, such as OBS Studio. This wide range can feel overwhelming.
As you explore your options, consider your specific needs. Your equipment, desired number of channels, and technical skills help you choose the right encoder for IPTV.
An encoder supports streaming but does not provide legal channel access; it is separate from your IPTV subscription.
This guide explores the best encoders available in 2024. It gives you the information needed to make an informed choice and improve your streaming experience.
Key Takeaways
- Choosing the right technology can improve picture quality and reliability.
- Encoders convert video sources into formats suitable for streaming devices.
- Consider your equipment, channel needs, and technical skills when selecting an encoder.
- An encoder does not provide legal access to channels; it works alongside your IPTV subscription.
- This guide will help you navigate the best options available in 2024.
1. Understand what an IPTV encoder does
An IPTV encoder starts the video journey in IPTV and plays a vital role in streaming. It converts raw or lightly processed video signals into a compressed format for streaming. This helps deliver high-quality video to viewers while using bandwidth wisely.
When a camera captures video, or a media source provides it, the encoder transforms the uncompressed signal. It uses a codec to compress the video, making network transmission easier. The encoded stream then passes through the IPTV platform or player before reaching the viewer’s device.
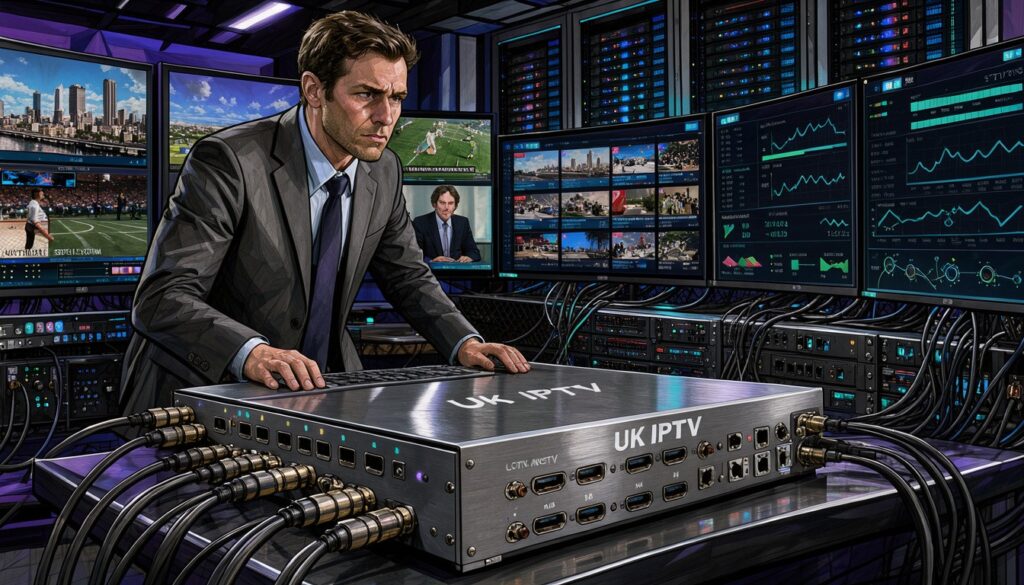
How an encoder turns video into a stream
An encoder has a vital role in streaming. By compressing video, it reduces transmitted data and supports smooth streaming. Compression lowers bandwidth needs while preserving video detail, movement, and audio quality. Without a reliable encoder, you may face dropped frames, buffering, and audio-video synchronisation problems.
Where encoding fits in an IPTV headend
An IPTV headend is the central hub of a managed television system. It receives, encodes, multiplexes, encrypts, manages, and distributes live sources. Understanding its structure helps people implement or improve an IPTV system.
A simple setup may have one source feeding an encoder. In a professional multi-channel IPTV headend, multiple sources are handled at the same time. This complexity demands careful control of resolution, frame rate, bitrate, audio format, and stream protocol.
| Aspect | Single-Source Setup | Multi-Channel Headend |
|---|---|---|
| Complexity | Low | High |
| Sources | 1 | Multiple |
| Settings Control | Basic | Advanced |
| Bandwidth Management | Simple | Critical |
Understanding an IPTV encoder is fundamental to optimising your streaming experience. By understanding these concepts and the encoder’s role in an IPTV headend, you can keep your setup smooth and efficient.
2. How to choose an encoder for iptv in 2024
Choosing the right IPTV encoder need not feel overwhelming. Focus on your channels, budget, experience, streaming schedule and existing sources. Ask how many channels you need, whether streaming is occasional or continuous, and which sources you already own.
Match the encoder to your channels, budget and experience
First, consider how many channels you need to encode. For a small setup, software encoding may be enough. Larger operations may need a hardware video encoding solution for reliable performance.
Your experience level also matters. Beginners should choose user-friendly features and full support, while experienced users may prefer advanced options for customisation and control.
Compare hardware video encoding with software encoding
When choosing between hardware and software encoding, weigh the benefits and drawbacks of each. Hardware video encoding uses a dedicated appliance, offering predictable performance and less reliance on a computer. This suits continuous streaming because it can run reliably without constant monitoring.
On the other hand, software encoding can cost less and offer greater flexibility. Programs like OBS Studio use your existing computer, but depend on its processing power, cooling, and operating-system stability. This suits experiments and limited budgets.
Check codec support, connections and latency before you buy
Codec support is vital, so choose an encoder with widely used codecs, such as H.264, for broad compatibility. For high-resolution content, consider HEVC for more efficient delivery. Also check that its HDMI and SDI inputs and outputs match your existing setup.
Finally, check encoder latency, the delay between the source and viewer. Low latency is vital for live events and interactive content, creating a smooth audience experience. Before buying, review management tools, warranty, firmware updates and total ownership costs to make an informed choice.
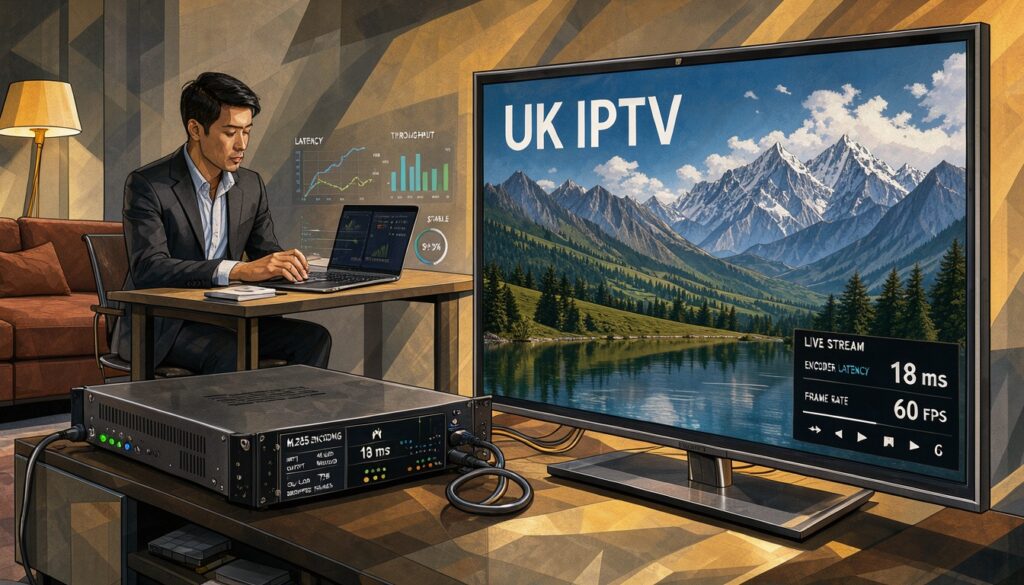
3. 7 of the best encoders for IPTV in 2024
Choosing the right encoder for IPTV can improve your streaming experience. Each model has different strengths and weaknesses. Here are seven leading options for 2024, suited to different needs and settings.
1. Magewell Ultra Encode HDMI: best for reliable HDMI streaming
Overview
The Magewell Ultra Encode HDMI offers reliable hardware video encoding for HDMI streaming. It suits home and professional users, delivering high-quality output with little effort.
Pros
- Reliable operation: Known for its stability and performance.
- Multiple output options: Supports various streaming platforms.
Cons
- Higher price point: May not suit budget-conscious users.
- Limited codec support: Users should verify compatibility with their needs.
Features
- HDMI input with up to 1080p resolution.
- Multiple streaming protocols supported.
- Web-based control interface for easy management.
2. AJA HELO Plus: best for flexible live-streaming workflows
Overview
The AJA HELO Plus handles flexible live-streaming setups and is popular with professionals. Its adaptable design fits smoothly into different workflows.
Pros
- Flexible workflows: Supports multiple input formats.
- High-quality streaming: Maintains excellent video quality.
Cons
- Complex setup: May require a learning curve for new users.
- Costly: Higher investment compared to basic models.
Features
- Dual recording capability for redundancy.
- Supports H.264 and ProRes codecs.
- Comprehensive control options via web interface.
3. Kiloview E3: best for production setups with multiple input options
Overview
The Kiloview E3 suits production environments needing several input options. It gives professionals flexibility when building streaming setups.
Pros
- Multiple inputs: HDMI, SDI, and more.
- Great for multi-camera setups: Ideal for live events.
Cons
- Higher complexity: More suitable for experienced users.
- Potentially overkill for simple setups: May not be necessary for casual users.
Features
- Supports up to 4K resolution.
- Multiple streaming protocols.
- Advanced control options available.
4. Matrox Monarch HDX: best for dependable dual-stream output
Overview
The Matrox Monarch HDX provides reliable dual-stream output. It suits both live and on-demand streaming.
Pros
- Dual-stream capability: Stream to two destinations simultaneously.
- Easy to use: User-friendly interface.
Cons
- Pricey: May not fit all budgets.
- Limited audio options: Check compatibility with your audio sources.
Features
- HDMI and SDI inputs.
- Support for H.264 encoding.
- Web-based control for remote management.
5. Haivision Makito X4: best for professional IPTV operations
Overview
The Haivision Makito X4 is built for professional IPTV operations. It provides strong features for high-quality streaming.
Pros
- Exceptional performance: Known for low latency.
- Broad codec support: Flexible for various streaming needs.
Cons
- High cost: Not ideal for casual users.
- Complex configuration: May require technical expertise.
Features
- 4K support with multiple outputs.
- Advanced security features.
- Comprehensive monitoring tools.
6. Blackmagic Web Presenter HD: best for straightforward streaming from a studio
Overview
The Blackmagic Web Presenter HD suits studio environments and offers a simple live-streaming solution.
Pros
- User-friendly: Easy setup and operation.
- High-quality output: Delivers professional results.
Cons
- Limited input options: Primarily designed for studio use.
- Not as versatile: Less suitable for fieldwork.
Features
- HDMI and SDI inputs.
- Support for multiple streaming platforms.
- Simple web interface for control.
7. OBS Studio: best free software encoder for testing and small-scale use
Overview
OBS Studio is a useful free option for testing IPTV streaming. It suits small-scale use and experimentation.
Pros
- Free to use: Accessible for everyone.
- Highly customizable: Flexible for various setups.
Cons
- Learning curve: May take time to master.
- Requires a computer: Dependent on hardware capabilities.
Features
- Supports multiple input sources.
- Customisable interface and features.
- Broad compatibility with streaming platforms.
When choosing an encoder for IPTV, match your needs with each model’s capabilities. Check current hardware video encoding specifications in the manufacturer’s documentation before buying.
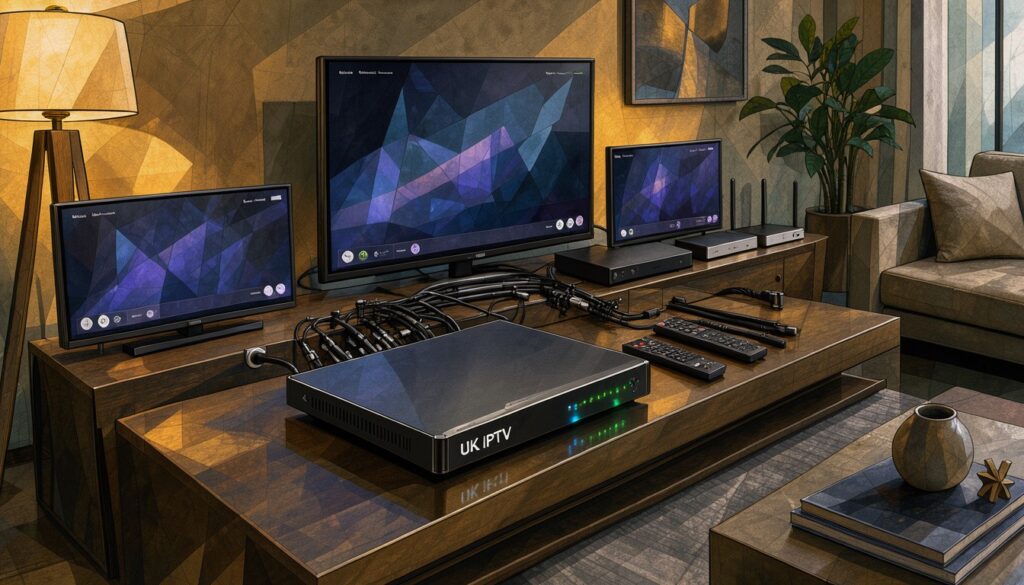
4. Choose an encoder that suits your IPTV headend
Choosing an IPTV encoder can affect how well your IPTV headend grows. Plan carefully to avoid equipment that cannot support future channels. Check these points before choosing an encoder.
Plan for channel count, output format and room to expand
First, review your current channel count and predict future growth. A one-channel setup may need only one encoder and network connection. If you expect several channels, choose a stronger solution.
Output format also matters. It covers the codec, container format, streaming protocol, resolution, frame rate, audio settings, and service metadata. Choose an encoder that supports different formats for future needs.
Allow space for more channels, higher resolutions, backup sources, and future smart TV or set-top box needs. This planning can prevent costly upgrades later.

Know when you need a transport stream multiplexer
A transport stream multiplexer combines several encoded services into one transport stream. Equipment or software can manage channels and related data together. Small IPTV installations may not need one, but growing operations often do.
For example, you may combine channels, programme information, audio tracks, or other services for managed distribution. A transport stream multiplexer can simplify this work. Knowing when to use it can improve your IPTV headend.
Careful IPTV headend planning is important. Consider channel count, output formats, and the possible need for a transport stream multiplexer. This helps your encoder meet current needs and support future expansion.
| Consideration | Single Channel Setup | Multi-Channel Setup | Future Growth |
|---|---|---|---|
| Encoder Type | Single Encoder | Multiple Encoders | Scalable Solutions |
| Output Format | Basic Formats | Variety of Formats | Support for New Standards |
| Transport Stream Multiplexer | Not Required | Recommended | Essential for Channel Management |
5. Check video input interfaces and signal quality
Understanding video input interfaces is vital for an excellent IPTV experience. They connect your encoder to different video sources and help deliver strong signal quality.
When comparing video input interfaces, you will often find HDMI and SDI connections. HDMI is common in consumer devices, including cameras, laptops, and set-top boxes. It is easy to use and supports high-definition video.
SDI, however, is preferred in professional production environments. It supports long cable runs and reliable installation workflows. This makes it ideal for complex setups.
Beyond HDMI and SDI, video input interfaces may include component, composite, IP, and capture-card inputs. The available options depend on your encoder model. Assess which options suit your equipment.
Next, confirm your source’s resolution and frame rate. Does it output 720p, 1080p, or 4K? Ensure your encoder supports the exact frame rate required.
Mismatched resolution or refresh rates can cause problems, such as a blank screen or poor picture quality.
Also consider your audio needs. Check whether your source has embedded audio or needs separate connections. Decide whether you need balanced or unbalanced connections, and match the channel configuration to your setup.
Finally, test the cables and check signal levels. Ensure your encoder processes the source continuously without dropped frames. A solid connection creates a smoother streaming experience for viewers.
6. Confirm compatibility with IPTV devices, apps and smart TVs
Your encoder for IPTV needs good IPTV app compatibility for smooth viewing. A valid stream can still cause compatibility problems. Test the output on several platforms before launching your service.
Check support for popular set-top boxes and common IPTV devices first. These include Android TV boxes, Apple TV, Fire TV, Roku, and dedicated IPTV set-top boxes. Support varies by app and operating system, so ensure your encoder’s output works flawlessly with the chosen IPTV app and player.
Also test playback on smart TVs and different streaming devices. Each brand may handle streams differently, so testing several devices can reveal issues. Use this checklist during testing:
- Channel start-up time
- Video quality
- Audio language options
- Subtitles availability
- Programme information accuracy
- Aspect ratio settings
- Pause or catch-up functions
- Channel switching speed
Also verify that your encoder supports the required codecs, protocols, and stream authentication methods. H.264 and HEVC are common codecs, but some devices do not support both. Test the stream in the intended IPTV player and a general media player to check compatibility.
Remember, a stream that works well on a powerful computer may struggle on older televisions or low-powered streaming sticks. Testing different network conditions and device specifications can improve the user experience. As the saying goes,
“An ounce of prevention is worth a pound of cure.”
Compatibility with IPTV devices, apps, and smart TVs is essential, not optional. Test carefully to build a successful IPTV service.
7. Balance streaming quality, bitrate and encoder latency
Balancing streaming quality, bitrate and encoder latency is vital for strong IPTV performance. These factors work together to create smooth viewing and meet your audience’s needs.
Choose between H.264 and HEVC codecs
When choosing a codec, compare H.264 and HEVC codecs. H.264 works with most devices and applications, making it a safe choice for broad access. HEVC offers similar visual quality at a lower bitrate, but may need more processing power and fail on older devices.
Set bitrate and resolution to suit your viewers’ connections
Choose bitrate and resolution for reliable performance, based on source quality, viewer connections, screen sizes, and available bandwidth. Higher settings improve detail but need more processing power and network capacity. Leave headroom for busy periods, and include audio needs in your overall stream budget.
Use adaptive bitrate streaming to reduce buffering
Adaptive bitrate streaming manages changing connection speeds. It lets the player adjust stream quality to real-time network conditions, reducing buffering and improving the user experience. Your platform and player must support this feature.
Lastly, consider encoder latency. Low-delay live streaming feels more immediate, while normal broadcast delay may suit other situations. Test the full path from source to viewer to find delays and ensure smooth streaming.
8. Select the right delivery method for your viewers
Choosing the right delivery method is vital for an effective IPTV experience. The two main options are multicast delivery and unicast streaming. Each suits different network setups and viewer needs.
Understand multicast delivery for managed IPTV networks
Multicast delivery efficiently streams content to many viewers at once on a managed network. It works well in hotels, campuses, and residential buildings with many users watching the same content. One data stream serves everyone, reducing bandwidth use and improving performance.
However, multicast needs specific network equipment, including suitable switches and routing capabilities. You must also use access controls to decide who can view the content.
Compare multicast with internet-based unicast streaming
By contrast, unicast streaming sends a separate stream to each viewer. It often suits public internet delivery, where viewers are spread out and network conditions can change. Unicast handles different internet routes well, but rising viewer numbers can increase bandwidth use.
When choosing between multicast and unicast, consider these factors:
- Network Design: Ensure your network can support the chosen delivery method.
- Viewer Location: Multicast works best in localised environments, while unicast is ideal for broader access.
- Authentication: Manage viewer access and ensure secure connections.
- Firewall Rules: Configure your firewall to allow multicast traffic if necessary.
- Bandwidth: Assess your network’s capacity to handle the chosen method.
- Device Support: Ensure your devices can handle the selected streaming protocol.
- Monitoring: Keep track of performance to optimise viewer experience.
Your encoder for IPTV must output a format and protocol that suit your chosen delivery platform. An informed choice can improve IPTV service quality and viewer satisfaction.
For more guidance on choosing the right encoder, read this comprehensive guide on encoder live streaming.
9. Set up your IPTV encoder step by step
This guide shows you how to set up an encoder for IPTV. It covers the key steps needed for reliable performance. The clear instructions suit beginners.
1. Connect your video source and network
Start by connecting your video source through the correct video input interfaces. Use reliable audio connections when needed. Then connect the encoder to a stable wired network for steady streaming quality.
2. Set the codec, resolution and bitrate
Choose a codec that suits your needs, such as H.264 or HEVC. Set the resolution and frame rate to match your source. Start with settings your source and network can manage, then adjust the bitrate for smooth playback.
3. Configure your stream destination and output format
Enter the protocol, server address, port and any required credentials. Set the output format and channel name correctly. Check any platform-specific settings required by your IPTV service.
4. Test playback, audio sync and performance on your devices
Finally, test playback on your intended IPTV app, set-top box, smart TV and streaming device. Check picture quality, channel start-up times, audio sync, frame drops and buffering. Monitor CPU or hardware load and stream stability over time.
If you encounter issues, use these troubleshooting tips:
- Reseat all cables to ensure a secure connection.
- Confirm the source format is compatible with your encoder.
- Lower the bitrate if playback is choppy.
- Check firewall rules that may block the stream.
- Verify your credentials for the streaming service.
- Compare wired versus wireless playback for stability.
Record your working settings before making changes. This lets you restore them if needed.
| Step | Description | Tips |
|---|---|---|
| 1 | Connect video source and network | Use stable connections |
| 2 | Set codec, resolution, and bitrate | Start with conservative settings |
| 3 | Configure stream destination | Check platform-specific settings |
| 4 | Test playback and performance | Document working settings |
These steps can help you set up your IPTV encoder for smooth streaming. For more information on IPTV setups, visit Antrica’s IPTV Applications or read the UK IPTV Installation Guide.
10. Protect your IPTV streaming setup
Keeping your IPTV setup secure helps prevent unauthorised access and interruptions. As internet-connected devices become more common, treat your encoder as network equipment. An encoder for IPTV needs strong security to protect your content and privacy.
Secure encoder access, firmware, and network connections first. Change default usernames and passwords immediately, then create strong, unique credentials for every administrator. Limit access to people who need it, reducing the risk of breaches.
Apply firmware updates from reputable sources to protect your device against known vulnerabilities. Disable unused services to reduce possible entry points for attackers. Place your encoder on a separate network or VLAN to isolate it from other devices.
To improve IPTV security, restrict management access by IP address. Use encrypted administration methods, firewall rules, and secure stream credentials when available. Monitor your setup regularly to spot suspicious activity quickly and prevent service interruptions.
A VPN can protect management traffic, especially on untrusted networks. It lets you connect remote locations securely or reach a private network when needed. However, a VPN cannot make unlawful content legal, guarantee streaming quality, or replace secure encoder configuration.
Ensure a VPN does not add excessive latency, reduce bandwidth, or disrupt multicast traffic. These steps can greatly improve your IPTV streaming security.
| Security Measure | Description | Benefits |
|---|---|---|
| Change Default Credentials | Replace factory-set usernames and passwords | Prevents unauthorised access |
| Regular Firmware Updates | Apply updates from reputable sources | Fixes vulnerabilities and enhances security |
| Separate Network | Isolate the encoder on a different VLAN | Limits exposure to potential threats |
| Use of VPN | Encrypts management traffic over untrusted networks | Secures remote access and protects privacy |
For more information on selecting the right equipment, check out this IPTV encoder guide.
11. Separate IPTV subscription costs from encoder costs
Understanding IPTV costs helps you make informed decisions. Separate your IPTV subscription costs from encoder costs. A subscription provides service access, while an encoder for IPTV converts and delivers your permitted video source.
Buying an encoder does not include channels, an IPTV app, a server, internet service, installation, or technical support. The following example shows subscription prices in pounds sterling:
| Connections | 1 Month | 3 Months | 6 Months | 12 Months |
|---|---|---|---|---|
| 1 Connection | £13 | £25 (1 month free) | £35 (2 months free) | £60 (3 months free) |
| 2 Connections | £25 | £45 (1 month free) | £65 (2 months free) | £110 (3 months free) |
| 3 Connections | £35 | £75 (1 month free) | £105 (2 months free) | £180 (3 months free) |
| 4 Connections | £45 | £95 (1 month free) | £135 (2 months free) | £240 (3 months free) |
Usually, one connection means one permitted stream at a time. Multiple connections may support extra authorised devices, depending on your provider’s terms. Check each plan’s features, IPTV app compatibility, simultaneous viewing rules, and supported devices.
Also, include wider ownership costs in your budget for a smooth IPTV experience. These may cover encoder hardware or a computer, capture equipment, cables, storage, and network upgrades. They may also include electricity, monitoring, replacement equipment, and security measures, so plan thoroughly.
Conclusion
Choose an encoder for IPTV based on your source, channel count, required quality, and delivery network. For simple setups, choose the Magewell Ultra Encode HDMI or Blackmagic Web Presenter HD. For flexibility, consider the AJA HELO Plus, Kiloview E3, or Matrox Monarch HDX; demanding professional operations suit the Haivision Makito X4.
Before buying, check compatibility with H.264 or HEVC codecs, bitrate, resolution, and audio requirements. Test your setup across various devices and apps to ensure seamless playback. Security matters: secure passwords, update firmware, protect network access, and use a VPN thoughtfully for privacy.
As a beginner, ask whether you need an encoder for IPTV; yes, it converts live or local video into streams. Hardware video encoding offers consistency, while software encoding allows flexible testing; app compatibility depends on codecs and protocols. An encoder cannot restore missing detail from a poor source, but it can prevent quality loss.
Compare specifications, test your complete viewing chain, and choose equipment for an IPTV headend that grows with your needs. For more options, check out this encoder that supports multiple HDMI sources. Your IPTV journey starts with the right choices.
FAQ
What is an encoder for IPTV?
An IPTV encoder is a device or software that converts video sources into a digital stream. This lets IPTV apps, set-top boxes, smart TVs, and streaming devices play the content. It uses codecs like H.264 or HEVC to compress video while maintaining quality.
How does hardware video encoding differ from software encoding?
Hardware video encoding uses dedicated appliances for reliable performance with less dependence on computer resources. This makes it ideal for continuous streaming. Software encoding is more flexible and often cheaper, but depends on computer processing power and stability.
What are the key factors to consider when choosing an IPTV encoder?
When choosing an IPTV encoder, consider your channel count, budget, codec support, video inputs, and expected latency. Codec options include H.264 and HEVC. Also assess ease of use and compatibility with your existing equipment.
What is a transport stream multiplexer, and do I need one?
A transport stream multiplexer combines encoded services into one transport stream. This helps manage several channels and related data. You may need one for multiple channels or extra services, but smaller setups do not need it.
How can I ensure good video quality and low latency?
Choose bitrate and resolution settings that suit your viewers’ connections. Adaptive bitrate streaming can change quality automatically and reduce buffering. Also consider the codec, because H.264 and HEVC have different performance characteristics.
What should I test to confirm compatibility with IPTV devices?
Test the encoder’s output with various IPTV devices, apps, and smart TVs. Check support for codecs, streaming protocols, and audio formats. Make sure playback works smoothly across different platforms.
How do I protect my IPTV streaming setup?
Protect your IPTV streaming setup with strong passwords, regular firmware updates, and network settings that block unauthorised access. A VPN can also improve privacy and security when accessing your encoder remotely.
Are subscription costs separate from encoder costs?
Yes, IPTV subscription costs are separate from encoder costs. The subscription provides channel access, while the encoder converts and delivers your video source. Consider total ownership costs, including hardware, networking, and maintenance.